How to Use a Green Screen: A Step-by-Step Guide for Beginners
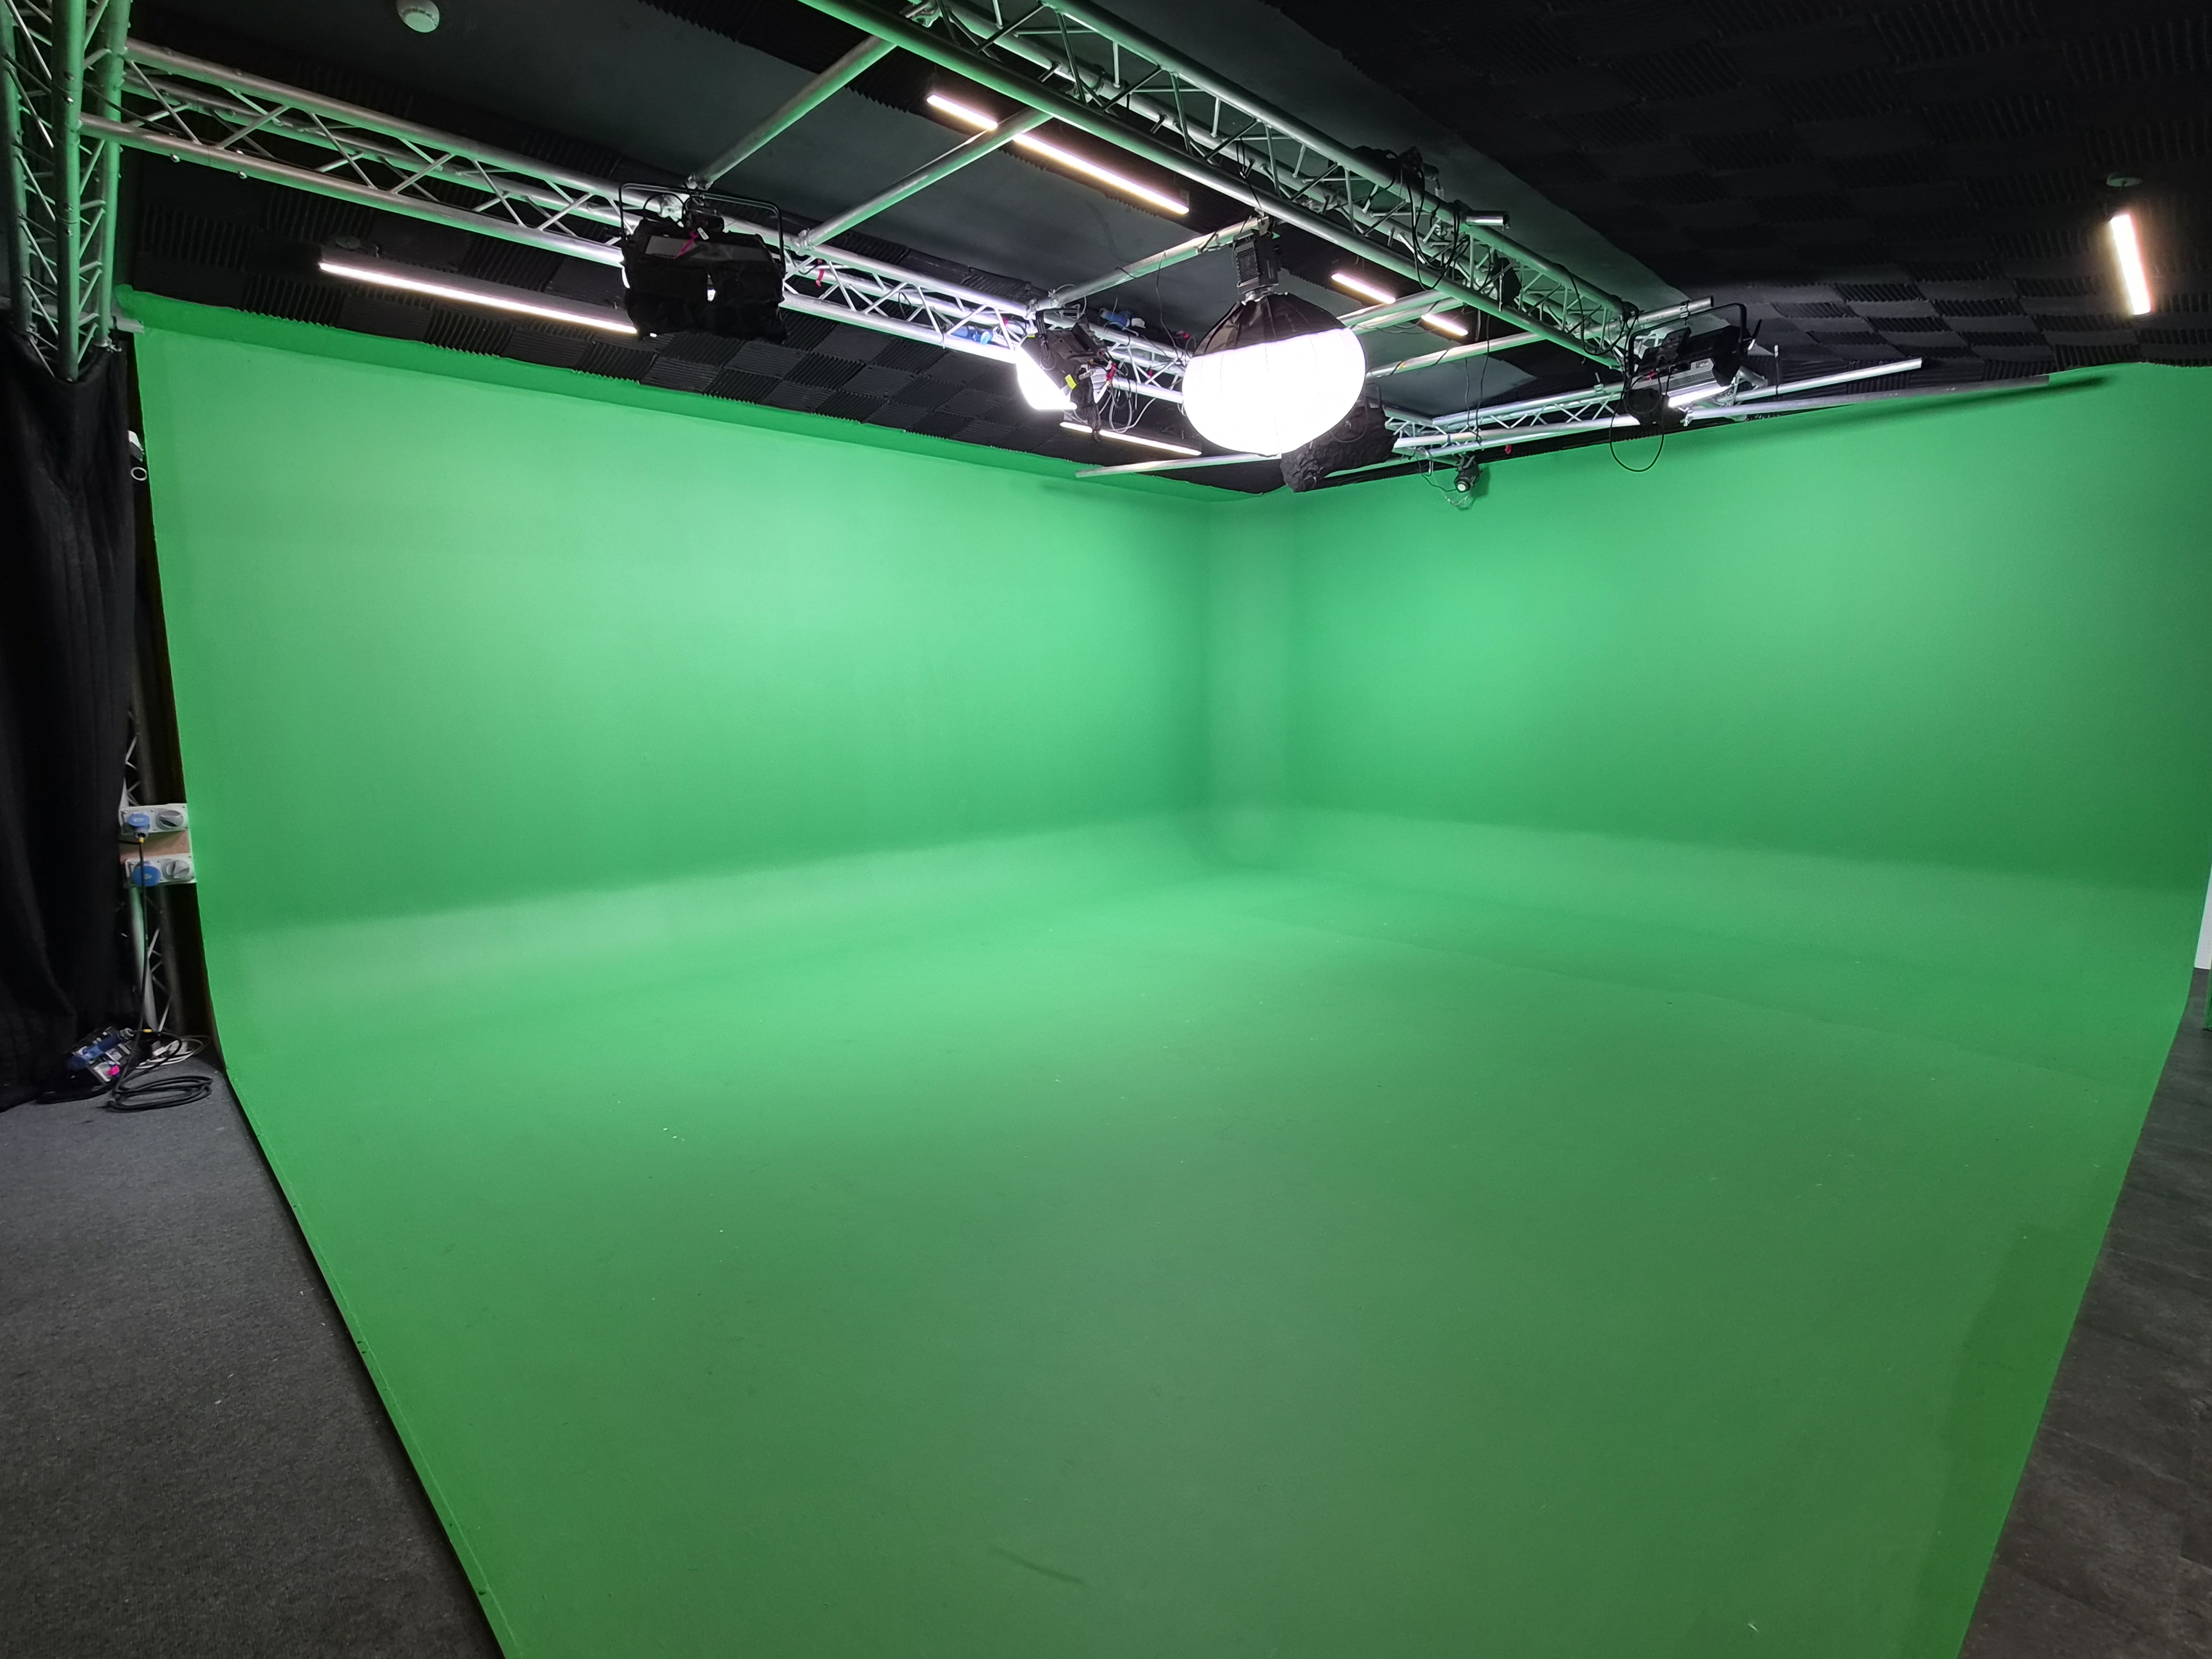
The Short Answer: To get a clean key, mount a completely flat, wrinkle-free backdrop and light it evenly from both sides. Place your subject 6 to 10 feet away from the screen to kill any green spill, light them with a three-point setup, and set your camera to fully manual settings. In post-production, use a keying tool like Premiere’s Ultra Key to strip the green in a matter of seconds.
Why this blog? I’m the Studio Manager at Tooting Film Studios. Whilst I’ve done photography and videography for years, I’ve only been managing the studio for four months, meaning when it comes to green screens, I’m learning right alongside you. This blog is not only about what I have learnt in the last few months, but it also brings some tips and tricks to simplify things a little for you.
Want me to break down why it's never actually that straightforward? If you - like me - have spent hours trying to cut around jagged hair or minimise green glow on skin, don’t worry, as you’re certainly not alone. I’ve spoken with countless industry pros at Tooting Film Studios from all kinds of shoots who’ve used green screens for decades, to help put together a guide that helps you make your next production go flawlessly.
The thing is, getting a perfect green screen isn’t about fancy editing tricks; it all comes down to setting things up right before the shoot even starts. Whether it's pinning up a backdrop in your bedroom or filming on a fully painted green cyc, this guide walks you through the entire process step by step.
What you’ll learn in this guide:
- Why we use green: The reason this colour makes editing so much easier.
- The gear you need: How to choose the equipment and what to do with it.
- The 5-step setup: How to hang the screen flat, light it evenly, and position your subject.
- Camera settings to lock down: What simple adjustments to your camera setup to use to stop blurry edges and colour changes.
- What to wear (and avoid): Outfits and accessories that can make your subject disappear.
- Basic editing: How to remove the background in just a few clicks.
- 8 common mistakes: traps that can ruin your footage and waste hours in editing.
What is a Green Screen (and why is it Green)?
To put it simply, a green screen is a plain, chroma-green coloured backdrop that you place behind your subject during filming. In post-production, you use software to say: “Find this specific green and make it completely invisible.” Once the background is completely removed, you can then place anything underneath! Want to be in a video game? Want to be on top of a mountain? Done, just like that.
You may ask… Why green? Well, us humans do not have any chroma green on us; skin, hair, and eyes contain red, brown, yellow, and pink, but zero chroma green. Because bright green never exists, the computer can erase the backdrop without accidentally deleting your face, arms, or clothes (unless you wear a green shirt, of course; then you are in a pickle).
Plus, digital cameras are physically designed to capture green light far better than red or blue, meaning cameras pick up more edge detail on a green screen.
What Equipment Do You Need?
Most people first come across green screen filming when seeing the behind-the-scenes footage of one of those high-end blockbusters. But the good news is that you do not need a blockbuster movie budget to have a great green screen, but trying to cut corners on the essentials will make things longer and more hair-pulling when it comes to the edit.
If I can summarise what you need in a nutshell: a good backdrop, nice lighting, and solid camera settings. Let’s get into those now:
Firstly, you need a backdrop that suits your shoot, whether that be saving on budget and using a colorama or hiring an entire green painted cove. Whichever you choose, make sure it is flat, has no marks and is wrinkle-free.
Because the goal of your backdrop is to be wrinkle-free, I recommend using paper rolls (also called coloramas) or even a collapsible pop-up green screen. You see, a paper colorama is great because it is easy, doesn’t wrinkle, and yes, it may rip or get a little dirty, but you can just cut it off and roll down some more. If you haven't got a lot of space, you can buy collapsible pop-up panels; these are cheap, effective and easy to transport. They also have a built-in frame that pulls the green nice and tight for you, ensuring no wrinkles.
Next up is lighting. This is essential when it comes to avoiding ‘green spill’ (where the green of the background bounces onto the skin of your subject). Your lighting needs to be lit evenly.
We’ll get a bit more into this later, but make sure you have enough lighting to make sure the background is fully lit, as well as your subject.
To help achieve this even lighting and truly get rid of that dreaded green spill, physical distance is your best friend. I tend to try to position the subject at least six to ten feet away from the green backdrop. This separation allows you to light the screen and your talent completely independently, ensuring a crisp, clean edge around your subject that makes keying later easy peasy.
Beyond your lights and wall, keep it simple: lock those camera settings. If your camera auto-adjusts mid-recording, the green background changes colour and your editing software gets confused. Lock it down once on set and save yourself a massive headache later.
Later on in this article, I will share with you the best camera settings for green screen.
How to Set Up a Green Screen Correctly
Step 1: Choose the Right Space
This is where studios win every time: a dedicated green screen studio gives you the high ceilings and room depth you need to control light; match that with soundproofing and a lighting system, and you are golden.
Low budget? No problem, there are plenty more DIY options you can do at home, or even in the office; just keep an eye out for some key factors that might break the shoot:
- Choose a room where there is as little natural light as possible; you need to be able to control lighting as much as you can to stop any spilling onto the subject (this can really impact the colours if you aren’t careful).
- Avoid areas with noise; it is a given, but you want to limit the amount of noise as much as you possibly can. Nobody wants to make a 10-hour day into a 12 from all the re-takes, all because of some annoying road rage outside.
- Think about the size of a green screen you will need; if you need a tall green screen, then you are going to need a room with enough ceiling height.
Step 2: Hang or Mount the Screen Flat
Wrinkles, creases and sagging fabrics create shadows that throw off keying software, making post-production even longer and creating more work that shouldn’t be needed. Your background must be pulled tight and kept flat. If it is a painted cove you are working with, just try to make sure there is no litter, marks or additional bits scattered around the cove.
Here is a pro tip for those with a smaller budget: since joining Tooting Film Studios, using C-stands, Paper Coloramas and painted green screens, my life has become so much easier, but it wasn’t always like that; back in my DIY bedroom filming days, my green screen fabrics loved to flop awkwardly to the floor. My go-to fix was always to get a cheap PVC pipe or even your local wooden broomstick (off with its head), and slot it into the bottom hem of the fabric/clamp one along the bottom edge. The extra weight on it will pull the fabric straight down, killing any ripples at the bottom.
Step 3: Light the Screen Evenly
Now let me tell you a secret to a clean key. The secret to a clean key is… wait for it…. Well, it is how even the lighting needs to be. I had a little read of Ikan's green screen technology guide and it emphasises keeping light uniform across the entire backdrop, as it eliminates hot spots so your editing software doesn't have to play a guessing game.
Think of your backdrop like a flat digital canvas: any bright glare in the middle or shadows in the corners forces your editing software to juggle five different shades of green instead of one. To pull off that clean, one-click key in post-production, you need seamless colour and lighting across the entire surface, which is a lot harder to balance on your own than it looks.
How to do this? The best way is to set up two identical light sources on either side of the backdrop, facing the backdrop; this will then soften the light crossing over the surface to eliminate any hot spots. To be honest, this is a big reason why pre-lit studios are a game changer: with overhead grid lights pre-set for complete coverage, you skip 45 minutes of trial-and-error and can jump straight to filming.
Step 4: Light Your Subject Separately
Now for the main event: lighting your subject. The best way I do this is to keep your subject lights and your backdrop lights separate; try not to let them mingle!
Give your subject their own simple three-point setup.
- Key Light: The main light shining on your subject’s face so they are bright and clear.
- Fill Light: A softer light on the other side of their face to soften any dark shadows.
- Rim Light: A light placed behind your presenter, pointing down at their head and shoulders.
Treat this trio as a package deal; miss one of these lights and your subject feels underlit, covered in shadows or gets melted into the green.
Step 5: Position Your Subject Correctly
Most people see a green screen and, like a moth to a flame, push straight back into it, standing stiff.
Fight that urge. Back away from the screen.
If there is one rule for a subject when shooting on green, it’s that distance is the cheapest production tool you can have. You want the subject standing a solid 6 to 8 feet away from the wall if you can.
Why? Well, backdrops don’t just sit there looking pretty; they act like massive, green mirrors. Green light bounces aggressively. If your subject is glued to the screen, there will be a flood of green light ricocheting straight off the wall and splashing a radioactive green halo across their neck, hair, and shoulders.
On set, your eyes might trick you into thinking it looks fine. But the second you drag the footage into post-production, the software will show you no mercy. When you ask your editor to erase every green pixel in the frame, it can't tell the difference between the green behind your talent and the green reflection clinging on for dear life to their collar.
Give your subject plenty of breathing room. Putting space between your talent and the green cuts that bounce to zero, and lets you light them as an independent subject, and keeps your key razor-sharp without a single minute of cleanup in the edit.
What Should Your Subject Wear?
Wardrobe is the easiest way to accidentally turn your subject into a ghostly floating head.
With clothing, follow one rule: do not match the colour of the key! If it's a green shirt or a small green pattern on the sleeve of the shirt, it will get deleted, period. Follow these simple rules:
- Absolute Zero Green: No green shirts, green ties, green socks, or clothes with green patterns. Even a tiny green brand logo on a chest will end up as a see-through hole.
- Ditch the Shine: As nice as they look, watches, glossy jackets, and glistening jewellery create reflections, and when the camera picks up that green bounce on a shiny surface, it means that, as Pinnacle Studio describes, keying software will erase those green reflections, causing parts of your jewellery or props to vanish.
- No to Lace: See-through fabrics or loose lace let the green wall bleed right through the material, making your keying software wildly confused about what to erase.
Stick to solid, contrasting tones that live on the opposite side of the colour wheel, all of which give your software an edge to grab onto. And always, always tell your talent to pack two or three backup outfits on hangers. Because nothing kills shoot-day momentum quite like discovering, five minutes before the cameras roll, that your presenter’s favourite "brown blazer" actually has olive undertones that turn their torso into an optical illusion.
Camera Settings for Green Screen Filming
Now for the fun part! It's time to actually start filming; don’t let automatic camera settings ruin your shoot- go fully manual. The second your camera tries to auto-adjust mid-recording, your take is ruined, and you have to start all over again.
Keep these settings frozen on your camera before hitting record:
- Lock Your White Balance: Set a fixed white balance that matches your lights rather than leaving it on auto. If your camera switches between warm and cool tones mid-take, your green wall changes shade and keying becomes impossible.
- Lower that ISO: A high ISO setting will make the video look fuzzy and grainy, and that “fuzz” flickers like crazy when you try to edit. Keep it low for a clean, sharp picture.
- Control Motion Blur: Keep your motion crisp. If your camera settings make moving hands look smudgy, green light will smear right across your subject.
- Keep Your Subject Sharp: Make sure your subject is fully in focus. If their hair or shoulders blur into the background, keying software can't tell where their body ends and the green wall begins.
How to Edit Out the Green Screen in Post
Nailed the set-up and camera settings? Perfect! Now time for the editing; you did all the hard work on set, so this should be an absolute breeze.
Drop your new background clip onto the timeline, place your green screen footage directly above it, and slap on your software’s main keying tool (Ultra Key in Adobe Premiere Pro, 3D Keyer in DaVUltra Key in Adobe Premiere Pro, 3D Keyer in Davinci Resolve). Grab your eyedropper tool, click the green wall near your subject's head, and poof, watch 90% of the background instantly vanish.
If there’s any faint green glow lingering on their shoulders, flick on your tool's "Spill Suppression" to clear it. Switch your view to black-and-white mode and nudge the matte contrast until your subject is solid white and the background is completely black.
Just like that, we are done! See, no stress, easy peasy, just like I said.
8 Green Screen Mistakes Even Experienced Filmmakers Make
Now, even after mastering your basic lights and camera settings, creators accidentally fall into what I like to call the set-up traps throughout their shoot. Here are eight quick hidden errors you can avoid to keep your footage looking good:
- Always pick your background image before setting up your lights: If your virtual background has bright afternoon sunlight coming from the left, but your physical light is shining from the right, your viewer's brain instantly knows the shot is fake. So your key lighting needs to reflect what the background is trying to say.
- Mismatched Camera Angles: Filming someone at eye level and placing them into a high-angle creates a weird floating effect. Match your tripod height and camera tilt to the perspective of your background footage.
- Shooting with Ultra-Wide Lenses: Wide lenses will distort your facial features and warp the edges of your frame. Recommendation? Don’t worry, I've got you; sticking to a 50mm to 85mm lens helps keep things looking clean.
- Background too sharp: Real camera lenses create natural depth of field. If your subject is in sharp focus and your background photo is also 100% crisp, your subject looks like a walking cardboard cutout. Drop a tiny 2% blur onto your background layer so your subject stands out naturally.
- Folding Fabric Backdrops Like Bed Sheets: If filming with green screen fabrics as the backdrops, storing these is an art in itself. If you fold them like you do your bed sheets at home. You are going to create some grid line creases and ruin them. Always roll fabric screens around a sturdy cardboard tube or steam them on set.
- Over-choking your subject: Cranking the "matte choke" slider to the extreme to kill green spill chops off hair strands, fingertips, and earlobes. Stop shaving your subject's outline; use spill suppression tools to remove the green bounce light without chopping off their body.
- Ignoring Room Echo: Empty green screen studios with hard painted walls echo like giant tunnels. Killer visuals paired with hollow, echoed audio ruin the illusion instantly. Get your mic as close to your subject as possible.
- Trashing Floor Coves with Street Shoes: Shooting full-body on a green floor cove? Walking on it in dirty shoes leaves dark scuffs that turn into ugly black holes around your subjects' feet in post. Lay down floor mats between takes and clean shoes, or use shoe covers to preserve details across the frame.
When Does It Make Sense to Hire a Professional Green Screen Studio?
A pop-up green screen in a spare room works fine for basic edits and clips, but official productions outgrow the DIY set-up life fast. Hauling heavy lighting, steaming fabrics, finding a location, reshooting and editing out sound- all these things add up to time that could be used to film.
Skip the hassle and step into a professional green screen studio; a pre-rigged overhead lighting grid saves so much time not only in lugging the equipment around but in the set-up itself. Why get a painted cove? Narrow fabric rolls also lock your talent into a tight space and give not much room to work with. The moment you need full-body framing, any form of movement, or multiple subjects side-by-side, you need a painted infinity cove. A physical green cove gives your camera total freedom to track wide and low without running out of background.
Bad audio? Makes you want to cry? Not if you have a 100% soundproof studio! A Soundproofed cove blocks street noise and kills room echo, so your audio is as clear as it can be.
Conclusion
"Fixing it in post," as a safety net for your green screen shoot, is an expensive result that burns through hours of editing time. This doesn't mean post-production software isn't essential, but what software can't do is un-scuff a green floor, fix uneven lighting, and, if it can, it takes a very long time. The reality behind every green screen key is straightforward: software isn’t everything; precision and attention to detail on set also play a big part. Whether you're DIYing a portable home rig or using a pre-rigged setup in a professional studio, the core principles never shift.
Stop fixing in post. Start fixing this before the shoot has even begun. That's how to use a green screen.